Decks
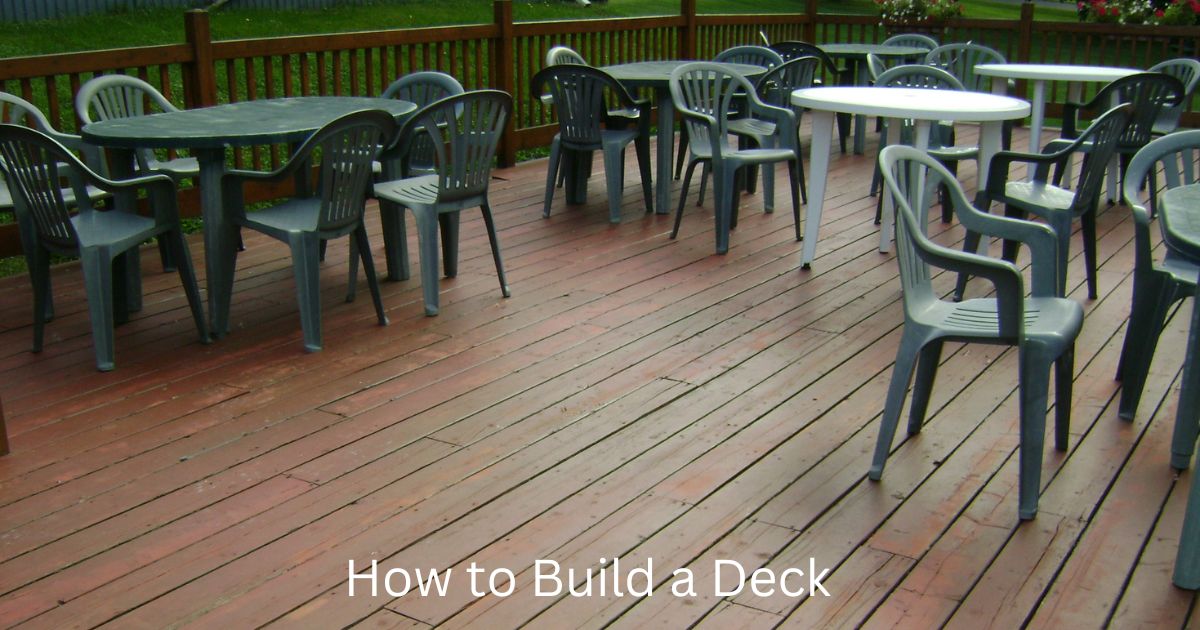
At sometime or another you might wont to know how to build a deck onto your home. I think just about every deck will have its own unique design, and just where you would like to build it onto your home.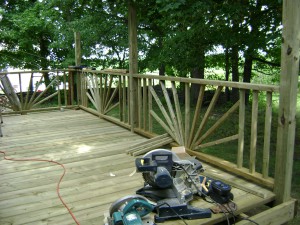
Wood for Deck
Most wood used for this project are two by sixes treated and four by four post also treated. The decking can be two by sixes treated also, but have seen different sizes used for this. The four by four post can be put onto concrete deck blocks that are designed for the post to sit in. Some places may require post holes dug and cemented with a bolt sticking out of cement so a special metal bracket can be attached to keep post well anchored. I have also put up decks made from all cedar but that can be very expensive.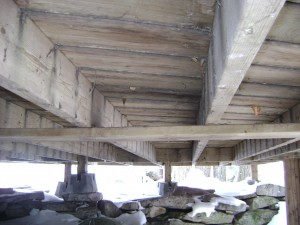
Attaching a Ledger Board
The first thing is to install a ledger board against the house using a two by six for this. Take siding off the house where you wont it installed and mark the right height and level for where deck is to sit. This can be attached with half inch bolts or lag screws four to six inches long, just making sure they go into solid house structure. Best to drill holes first as it makes life easier. One other thing to remember is to install the two by sixes with the crown of the board up, and this also applies to the other joists you will be using.
Perimeter Joists
Next is to put up the perimeter joists for the deck, then once up you can level and make it square. Always measure the diagonals from ends of ledger board to make deck square with house. The perimeter joists will attach to the four by four post that are set on your cement blocks, using bolts to connect post to ledger boards. Make sure to have post on the four corners as these will be part of the railing later. Most people set the post about six feet apart but can be closer depending on size of deck, and also post set where ever center of deck is, once again depending on size of deck.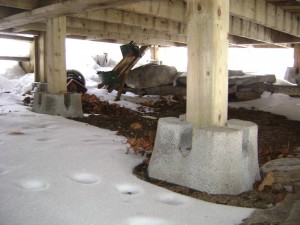
Post For Deck
Other post for your railing should be attached now before you put in joists. These can be six feet apart up to a maximum of eight feet, but the six foot span will make a stronger railing. I usually attach the post to the inside of the perimeter joist leaving the full thickness of four inches. Have seen some with a notch cut out so post sits on top of joist. but this only leaves two inches of wood holding post so personally I prefer the solid four inches. There are metal brackets that attach to the perimeter boards and the four by four post sit in these and screwed into place making them extremely strong for the railing. It may cost a few dollars more but is safer and stronger with the metal brackets.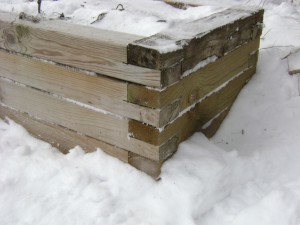
Floor Joists
Next you wont to attach the treated two by sixes floor joists. These are put every sixteen inches so you can mark the ledger board and the outside perimeter the same. For these there are also metal face mount joist hangers, usually around a dollar a piece and work very well. Have seen these nailed on but I prefer screws in case there is a little adjusting to do later, makes it much easier. Don’t forget to put the crown of joists up as you install them.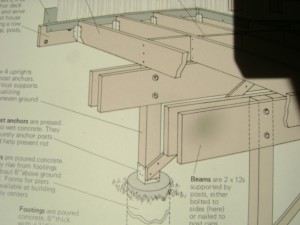
Flooring
After joists are all installed then you can start putting on the two by six flooring, beginning at the outside perimeter joist and working towards the house. Cut out for the post and I usually leave an inch overhang at the outside perimeter board, but that’s up to you as some like it even. You can space the two by six flooring using eight or ten penny nails, anywhere from one eighth to one quarter inch gap. I usually just cut three or four pieces of wood the right thickness for the space, or use some stir sticks for paint. I find this works better then nails for spacing because often the two by sixes are not perfectly straight and need to be adjusted, and with pressure the nail spacers will sink into the wood where with the wider wood spacers will not. When your flooring gets closer to the house check for both sides being even in case spacing needs to be adjusted or you have to rip a two by six.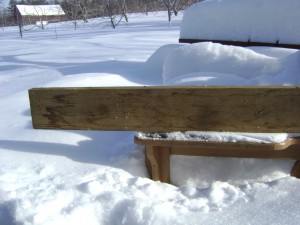
Attaching Flooring
To attach the flooring I use three inch decking screws. Most people screw the floor down by going through the two by sixes into the joists, is fast and easy. Another way if your deck is three or more feet off the ground is screwing the flooring on from the under side, going from an angle through the joist into the flooring, and drilling a pilot hole first. Its a little harder to do but your flooring has no holes screwed in the top of it, and does look real good when finished, plus less chance of rot in the future. Have done three or four decks like this plus a few porches, customers were very pleased with the look.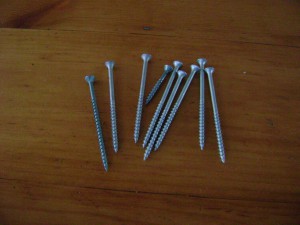
Deck Railing
The next part of the process is to add the railing and any more post that you might need. Railing is usually three feet high wit the post extending about another ten inches above that. If your deck is five feet ten inches above ground then railing should be placed at a height of forty two inches. The bottom two by four rail can be set at two to four inches above deck floor, and the vertical pieces for the railing have no more then a four inch gap between them. They are often made out of two by two treated lumber sawed on an angle at top. These are the leveled and screwed into place.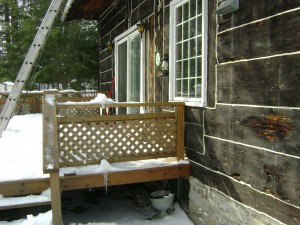
Stairs
If your plans call for stairs then you will need a couple post set onto the perimeter board of the deck Attach these with metal brackets designed to give the post a solid mounting. Every deck will be different so one of the easy ways to calculate the two by twelve stringers for length rise and thread is to use one of the stair calculators on the internet. There are a few excellent ones out there. Just give the height of your floor on deck from the ground or cement base your stringers will sit on, and the rise which is the height of step. Most have a rise between seven to eight inches, and the angle of stringers is usually between thirty five to forty two degrees. One of the most common rises on stairs is seven to seven and a half inches, and you can use two by sixes for the threads. If the steps are over thirty six inches wide you will require three stringers.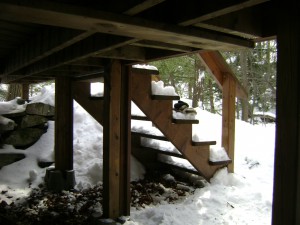
Railings For Stairs
If you are adding railings to the stairs, then two more four by four post are required at the bottom. These can be anchored into cement and attached with metal fasteners for strength. These can also be attached to the inside of the stringers by adding a two by six across stringers at back of post, plus a short piece of four by four on the sides of post. All pieces are then bolted together and metal fasteners also used, These have to be extremely solid so take the time to do it right. Add the two by fours between post for railing cutting the angles at top and bottom, then add the verticals with once again no more then four inch spacing. A handrail can also be added after inside the stair railing for getting a better grip.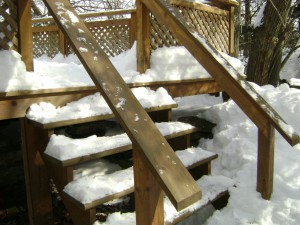
Post Caps
For the post around the deck you can add solar LED light caps for them. There are many different types of post caps out there so is just what ever you happen to prefer.
Comments
If anyone would like to leave a comment or have some new ideas on decks, its always appreciated.
This is a very comprehensive site! Very easy to understand the building process.
I will definitely recommend it to my clients!
Hi Cheryl, thanks for visiting my site, your comments are appreciated.
Hi, Wayne! Thanks for the in-depth instructions on how your built your deck! Since it’s summer, I decided that I’ll undertake a similar project! If you don’t mind me asking, how much did it end up costing you?
Alex Jennings |
What an easy to follow guide to installing decking i am very much into my DIY and consider myself reasonably well skilled in decking but there was tips you mentioned that amazed me made installation so much simpler. Thanks for you brilliant advice.
Thanks for visiting site, appreciate your comment on ideas for decking.