Here are a few ideas if you are going to try Installing a Floating Wood Floor in your home.
Measuring
The first thing to do is to measure your rooms. Measure the length and the width then multiply these two figures to give you the total square feet of your room. After this it is advisable to add about ten percent more for waste. Then you can order the amount of floating floor for your dimensions.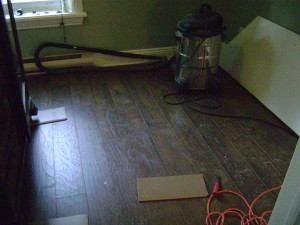
Instructions
Depending on the company that made your wood flooring there may be a little different instructions from each maker. Is best to read what is recommended on the packages for your flooring. Usually most floating floor boards are tongue and grove with the ends having to snap lock together. When starting the tongue of your board often goes against the wall, and the joints need to be staggered for each row.
Tools for Installing a Floating Wood Floor
The tools you can use for this project are a tape measure, utility knife, jigsaw, chalk line, chisels, and miter saw for new mouldings and cutting. Also a multi tool works very well on the door jambs, and a tapping block and pull bar to keep some of the boards tight fitting.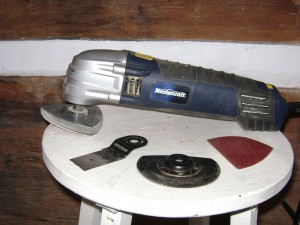
Getting room ready
To get your room ready the first thing is to move all the furniture out, then remove the baseboards. Next you will need to take a piece of the new flooring plus the underlay and use it to mark where the door jambs need to be cut. This is because the flooring will go under the door jambs as there is no moulding to cover them there.
Room Size
Now before beginning the floor I usually measure the width of room so that we don’t end up with a small piece on one side, and a full width on the other. If your worried about your measurements you can lay out a row of boards across the room to find what you have on both sides. If your walls are a little crooked you can chalk a line to keep your first row straight.
Starting
Next thing to do would be to lay out the foam underlayment, and then you are ready to start laying the floor. On the first row if you have to cut a board and your left with a piece that’s around eight inches or more then it can be used to start your second row. And remember to keep your boards six to twelve inches away from the joint in the first row, you can always check instructions on package about this as it may vary.
Spacer
There needs to be a quarter inch space left around room for expansion. For this purpose I have cut quarter inch plywood spacers which work real well. Another thing to mention is that your floor is usually laid parallel to the longest wall in your room, but irregular shaped rooms may require a different layout.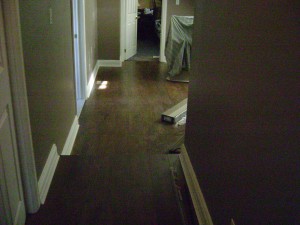
Door Jambs
Next you can continue laying the floor , and where you cut out the door jambs they should be given a good vacuum before installing boards under them. The multi purpose tool I mentioned before works very well for the cutting, but even a handsaw will work.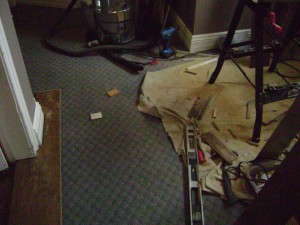
Finishing
Once you have your floor all laid down you can then put back the baseboard mouldings around the room. Then the quarter round which will cover the space you left for the expansion.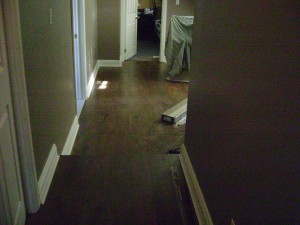
Another Room
If your doing a floating floor into another room is best to leave a three quarter or inch gap at the doorway. This you can cover later with a threshold trim T door strip which come in a variety of sizes.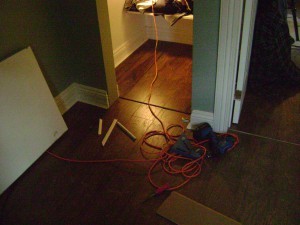
If anyone has more ideas on laying a floating wood floor just leave me a comment.

I like what this article mentions about measuring and how it can make a big difference for installing flooring. It makes sense that having too much or not enough wood might cause problems when trying to put it all in. I also think that scribing and marking certain places accurately could be helpful so I’ll have to look into getting a pencil scribe.
Thanks for the comment, your pencil scribe looks like a very handy tool.