 This article is about Sanding Wood Floors and Refinishing, and in this case the wood floors are in an old farm house, with one floor being painted a gray color from an oil based paint.
Sanding Wood Floors and Refinishing
Removing the Old Paint
Trying the floor sander on this paint did not go to well, as the paint just glued itself to the sand paper on the drum.
So to make life a little easier I used a paint scraper on it first to get most of the paint off, and while this requires a fair amount of time, it did work well.
This room was only 12 by 12 feet, so the scraping didn’t take too long.
After that the rough sand paper on the drum floor sander lasted a lot longer with only going through about 3 or 4 of the sand papers.
Also, as the floor was not level, it took a while to sand out the higher spots.
There was a few carpet tacks to pull out, as someone must have had a carpet covering this floor at some point in time.
Sanding
Once the rough sanding was complete, which can take a while depending on the condition of the floor, than you can go to a medium like number 40 or 80 sand paper for 5 or 6 passes before switching to the fine sand paper for finishing your floor.
Then you can use an edger around the outside of the room where the drum sander can’t reach. Start with the rough paper, than down to medium and fine.
Also, is a good idea to take off any small 3/4 inch moldings around the baseboards, so that your not left with a line showing after sanding, and replace these after floor is finished.
If you have any closets that are too small for the drum sander, than the edger can be used in them, and a small mouse sander with its v shape works well for the corners.
You will find that some small sanding is required where the drum sander might have left some marks.
Random Orbital sanders
If you have a random orbital sander it can be used to remove any spots where the drum sander overlapped.
Usually giving the floor a good vacuuming, and using a strong light you can see any places that need a touch up sanding.
Dust
You will also wont to cover any doorways that are open with a plastic or blanket of some kind.
Even with the dust bags on the drum sander and edger, there always seems to be dust, and would suggest wearing a mask when sanding just to help keep you healthy.
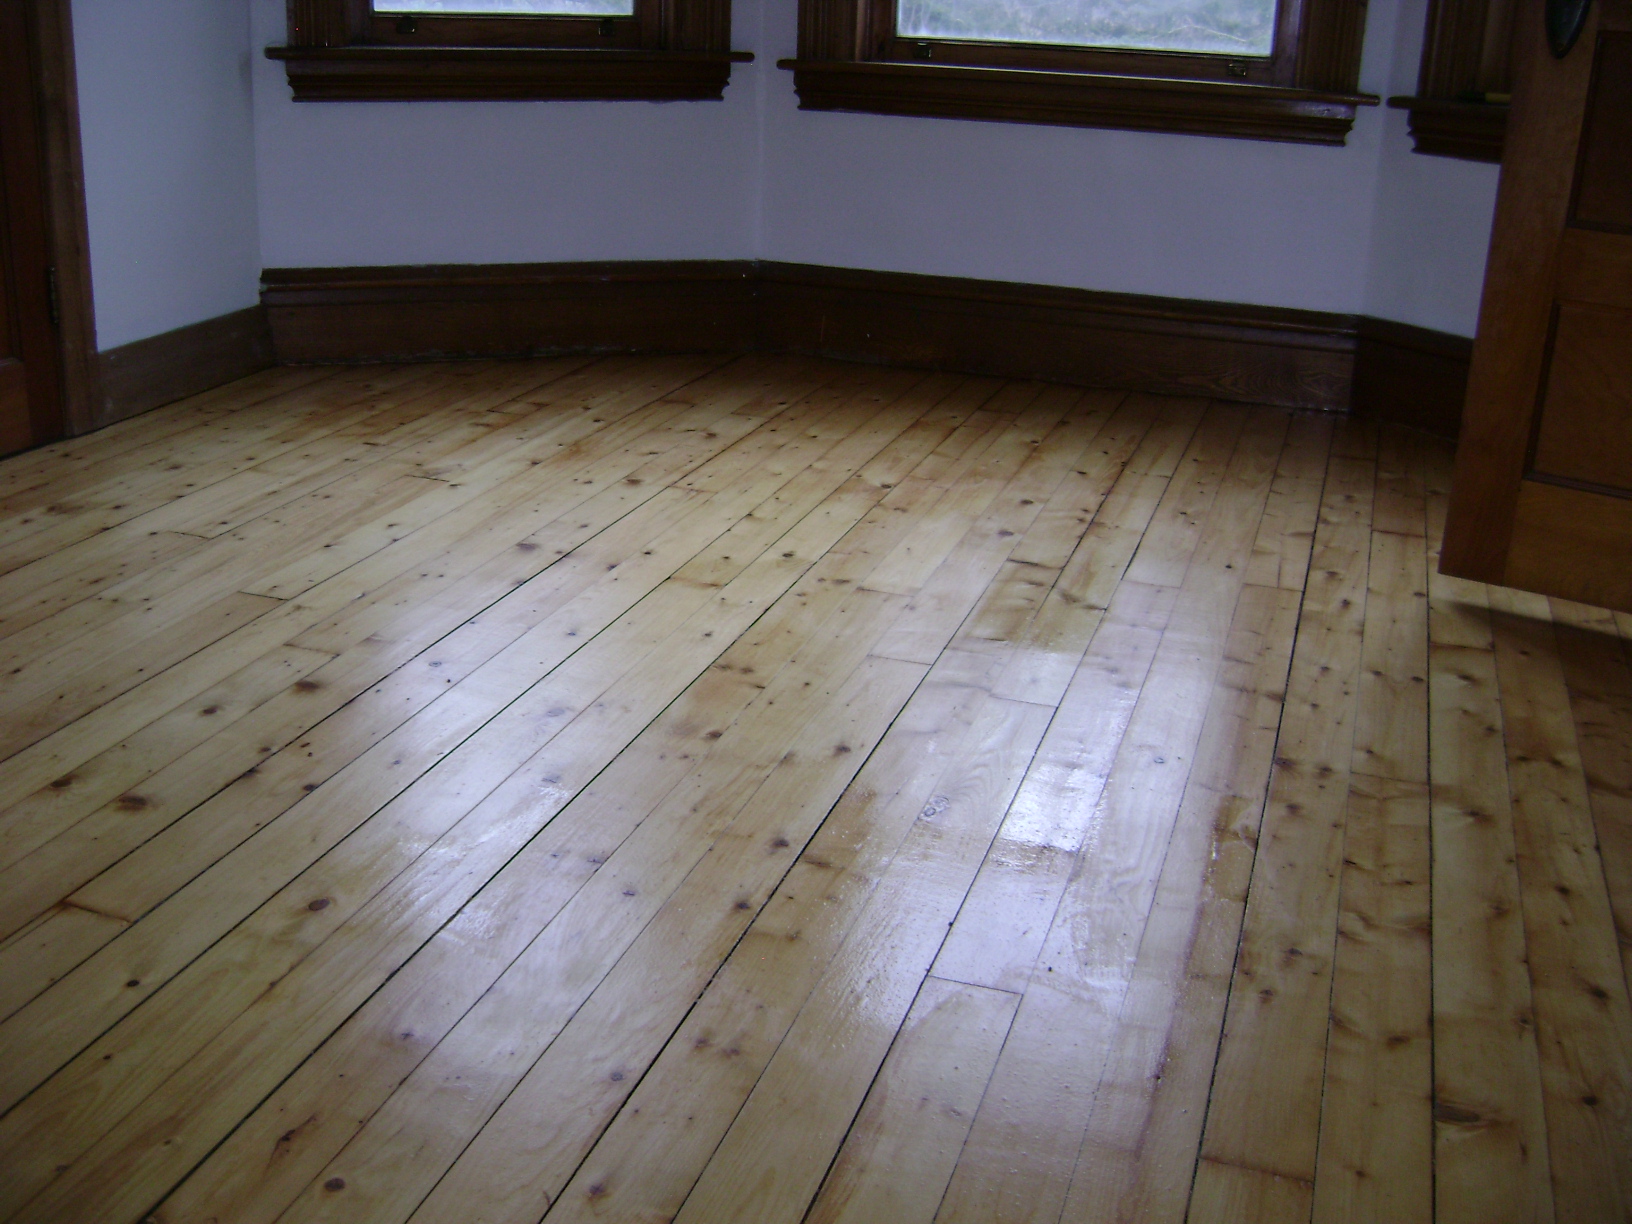
Floors
If your floor is very uneven with some high and low spots than your first rough sanding should be across the grain of the floor boards to level them out.
Usually most floors are fairly level, so the sanding is with the grain of the wood,
And always get enough sandpaper, because the more often you have to change paper, the faster your floor sanding will go.
Start with a 24 grit, than 40 or 80 grit, than up to 120 for the fine sanding.
Once your floor sanding is done, than its time to get out your shop vacuum, and take your time to clean up all dust on the floor, windows, walls, and anything else in the room.
Polyurethanes
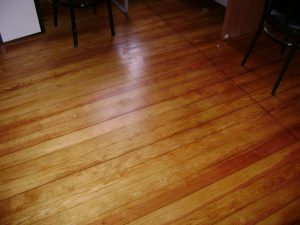
Next question to ask yourself is what do you put on your floors, and that depends on the individuals likes.
For my own floors I used Minwax Polyurethane clear gloss, and have seen other floors where a satin finish was used, which is not so shiny.
One floor in my log house was done with an oil based Polyurethane, and is still standing up to the wear and tear of every day traffic.
Most of these Polyurethanes require 2 coats to be put on, but a third coat can be applied with a 4 to 6 hour drying time between coats.
Always give a light sanding between coats, and a vacuuming, where light sanding means using fine sand paper to go over the floor lightly.
A sanding attachment used for gyprock works well, and you can even use a broom handle on them so is easier on the knees.
Staining
If you decide to stain your floors for a darker look, than is best to follow the recommendations on your can of stain.
Most stains can be put on with a rag or paint brush, and wiped in the direction of the grain of wood to give it a uniform coverage.
Also, would suggest wearing a pair of rubber gloves and knee pads when doing this.
Allow your stain to dry completely as per instructions on the can, before applying a Polyurethane to protect the floor.
There are some finishes that are a two in one, where the stain and protective finish are done in one step.
One thing about applying stain is to always try it out first on a scrap piece of wood, or in a closet corner to see how it looks first.
Minwax
Minwax has a Polyurethane with an oil base that does not require sanding between coats, so this will save you some time when applying, and they also have a water based Polyurethane for hardwood floors.
The Minwax also sells a top coat with a crystal clear finish, that gives a very durable finish, and again requires no sanding between coats.
Having used this product myself have found it to be excellent to apply, and does stand up to traffic.
Sanding by Hand
Some people do attempt to sand small rooms by hand, which means using a belt sander, or random orbital sander.
The belt sanders do work, but take a lot of time, and the sander has to be of good quality to be able to do a floor or outside deck.
One thing I have used on a small floor is the motorized gyprock sanders.
They actually work fairly well if your not in a hurry, and have the attachments to collect dust in your shop vacuum.
With a good level floor or deck to start with these tools can be used, but will take you a lot longer than the drum floor sander and edger.
T’he gyprock sander can cost anywhere from 300 to 600$, and to buy a belt sander another couple hundred or more for a good one.
So if you don’t have these tools on hand, than it is cheaper to just go and rent the floor sander and edger, which will get the job done faster, and mabey even better.
Finishing
So no matter which way you decide to sand your floors, one thing experience has taught me is to take your time and do a good job, and in the end you will have a great looking floor.
And before moving any furniture back in your room, follow the instructions from what ever you put on your floor for the time it takes to dry.
Many of these products require you to wait 24 hours, before moving furniture back in the room.
You can read also: Installing Oak Wood Flooring in a Hallway
Conclusion
So best of luck on sanding your floors, and any comments are always appreciated.
Wayne.
very nice write up
Thanks
The information you described in the above article is pretty good. I think you should write more on this and related topics as well so that I can send more users on your article. It helps me a lot.
Thanks
Thanks for reading, will be posting more articles soon.
Great thoughts I really appreciate your writing. I go through your complete article and found this one is one of the best described articles on this topic. I have added some of your content lines in my assignment as well
Thanks for Great Information
Thanks for taking the time to read my article.