Working With Stones
Laying Your Stones in the Right Place is about if you ever have to do some work with stones then this article should give you a few ideas.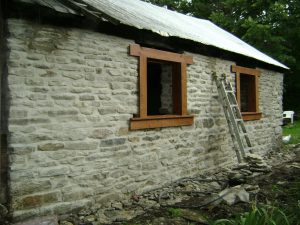
A Wall of Stones
In this case we are building a stone wall for an old blacksmiths shop, and I am guessing that this building was built around one hundred fifty to two hundred years ago.
The old cement holding the stones together has not stood the test of time to well, and has mostly turned to sand with very little holding the stones together.
A temporary fix for this was not possible as the wall had moved out and in by at least seven inches in places.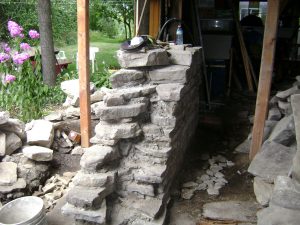
Supports
One of the first things to do is remove a few stones at the top under the roof beam, so that you can get some supports set up to carry the weight of the roof.
For the supports you can use four by four post under the beam which will be sufficient to hold the roof up.
As some of the wall is left standing and only removed as you work along there is no danger of roof moving.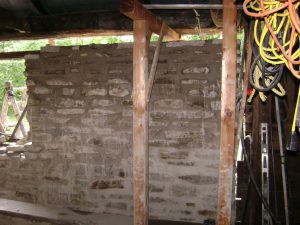
Cleaning Stones
Now you can start removing the old wall and taking your time to clean any old cement off the stones as you go. A small stone hammer works very well for this. The wall for this building was twenty eight feet long and eight to ten feet in height, so is best to do a small section at a time and the rest still standing will help support the roof.
There are two windows in this wall so we went as far as the first window before starting the rebuild.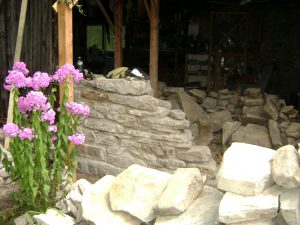
Grading Stones
The stones you take out and clean are usually graded into size, the piled about three feet from your wall. This makes it easier to find the proper size and thickness of the stones when starting to rebuild.
I also try to keep the larger heavy stones closer so they can be laid on the bottom rows.
On this project there was bedrock at the bottom, plus we also widened the base by an extra foot on each side for the extra strength.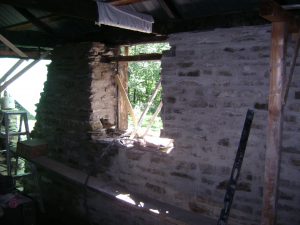
Design
The original wall was twenty one inches wide so decided to make it the same so everything matched up to the original design of the building.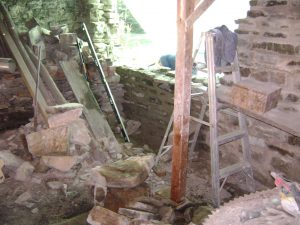
Moving Larger Stones
If you find some stones too heavy for lifting then just use a plank, and a couple of old water pipes about twenty inches long by one inch. Then you can lever the larger stones onto this and roll them into place.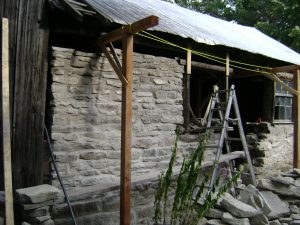
Cement
A pre mixed motor was used for this which had a glue already mixed into it, and wet your stones before laying them in the mix.
We purchased a small cement mixer from Canadian Tire for a couple hundred dollars which saved a lot of mixing by hand, and this was well worth the dollars spent on it.
Laying
As you lay the stones it is a good idea to place a row or two before cementing them in place. This will give you a good idea of how they are going to look and match up.
Also have the stones overlap the joints in the row below them as much as possible.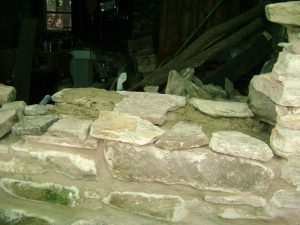
Keeping Things Level
You will also wont to keep your wall level, and as in this case the wood beam was not perfectly straight from one end of building to the other.
On the outside of the beam you can use a line stretched tight from one end to the other, and then level down from this and your wall will remain straight with your line to match up with the top beam.
You can also run a line along the bottom to match the top level, but as this line is in the way most of the time is best just to use it to check how the level is every once and a while.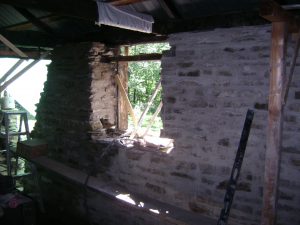
Laying Your Stones in the Right Place for Windows
For the windows on this wall we put the old frames back in place and leveling them to give the right size to build the stones around, as new ones were being made for this.
The stones around the window frames can be left about an inch away as the new window trims will cover this gap.
The new frames can later be secured into the cement with metal screws into anchors put into the cement.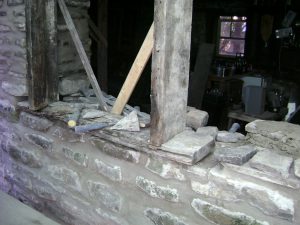
Scaffolding
As you progress up the wall then a strong plank can be used between two ladders to work as a scaffolding to stand and put your stones on, and remembering to wet each stone to give a good bond in the cement.
A garden hose with a spray handle works great for this, and also for the mixing of the motor.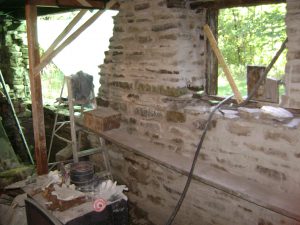
New Window Frames
After you have cemented each section between the windows then you can cement the stones up tight to the beam, and this will have time to set hard as you go along.
Then once the new window frames which in this case were two inch oak are installed level, then you can finish the stones above and below the frames.
This is one of the last things you will need to do on the wall.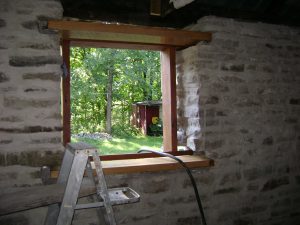
Clean Up
At the end you can go over the stones with a wire brush and water to clean off the cement that has run down on them.
Also any small stones left over could be thrown in at the base of the wall that is below ground level.
Then sit back grab a beer and admire your work.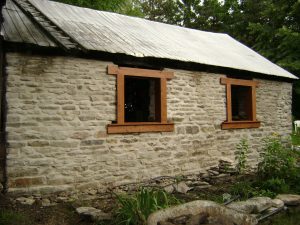
Tools Needed
1 A couple step ladders and planks
2 Levels, I find a six, four and a two foot level work very well.
3 A few pails for carrying cement, and a few good cement trowels.
4 A few stone hammers which are a must, and pry bars.
5 Also knee pads are handy, as the stones get kind of rough on the knees after a while.
6 Some wire brushes to clean off the stones after your wall is up.
7 A cement mixer and garden hose
8 Wheelbarrow for moving stones and a few shovels.
Any questions about laying stones just leave a comment and I will get back to you.
And if interested in any tools for these projects try your local hardware store.
Wayne,